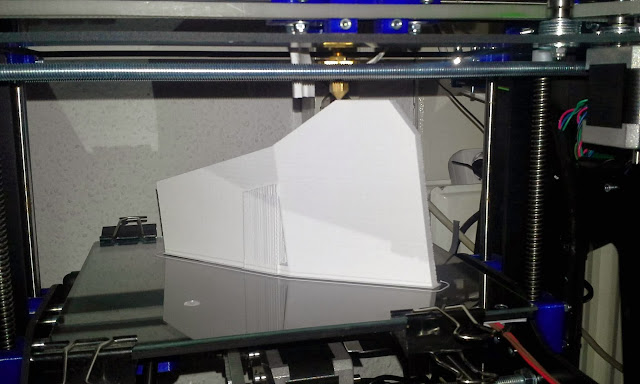
Today I printed the biggest print yet.
It's a roof for an architectual model. The print took about 3 to 4 hours.
The rest of the model will follow this week.
zondag 24 november 2013
The biggest print yet!
vrijdag 15 november 2013
Temperature problems?
I've been printing a decent amount since my last post and I've got the printer working pretty well.
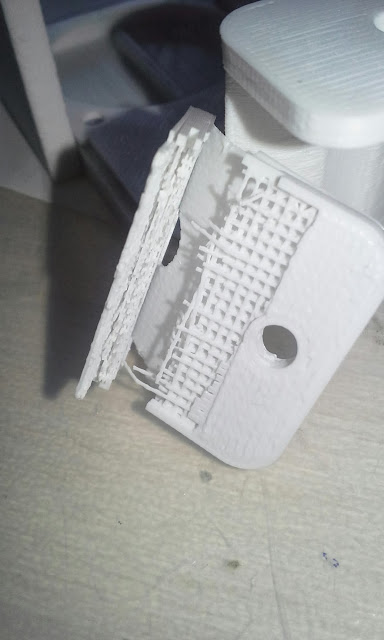
The only thing I notice is that on larger prints the layers don't always stick to each other very well. It has something to do with the temperature. Either my room temperature is to low or the hotend isn't hot enough.
vrijdag 8 november 2013
Oops
Just discovered that the Orca prints fine even though I didn't tighten down the bolts of the x-carriage (oops).
I'll tighten them tomorrow and perhaps the prints will come out even better!
I'll tighten them tomorrow and perhaps the prints will come out even better!
woensdag 6 november 2013
Calibration extrusion
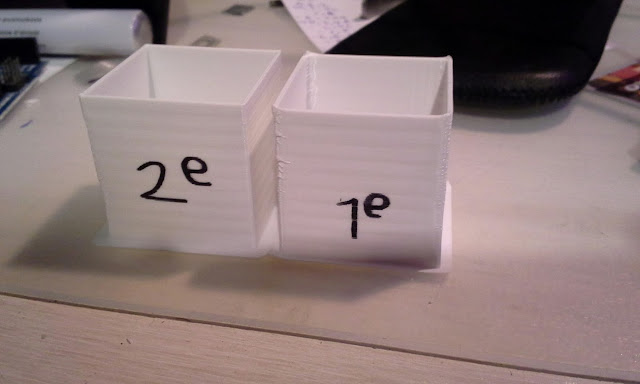
This was the first calibration ran. With a simple guide I managed to set the correct extrusion multiplier in slic3r (see the difference in the picture). Here is the link to the website: http://cisana.net/extruder-calibration/
The first test print had rough corners but after setting the correct extrusion multiplier they improved significantly.
The first test print had rough corners but after setting the correct extrusion multiplier they improved significantly.
Upgrade #1
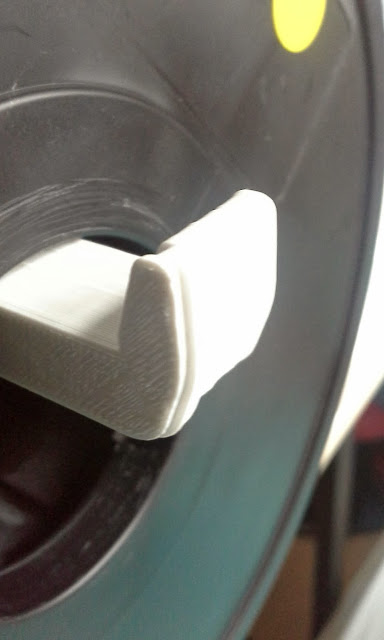
Today I printed the first upgrade for my printer. I printed an extended spool holder. The original spool holder was to short for the filament spools I bought.
As you can see I had a minor layer shift during the print. I hope I fixed that by increasing the stepper motor voltage.
As you can see I had a minor layer shift during the print. I hope I fixed that by increasing the stepper motor voltage.
zondag 3 november 2013
First print
This is the very first print to come out of my 3D-printer.
After levelling the print bed and adjusting the endstop I was finally ready for the first print on my Orca v0.43.
Without tweaking any settings the print looks great already.
The only settings I changed were the nozzle diameter and filament diameter.
vrijdag 1 november 2013
Day five and done one building!
I now have a printer that moves! After five days i managed to get the Orca v0.43 moving. The only thing left to do is fine tune and print.
Below you'll see some progress pictures I took during the build.
 |
| the y and z axis which is a pain in the but to get straight. |
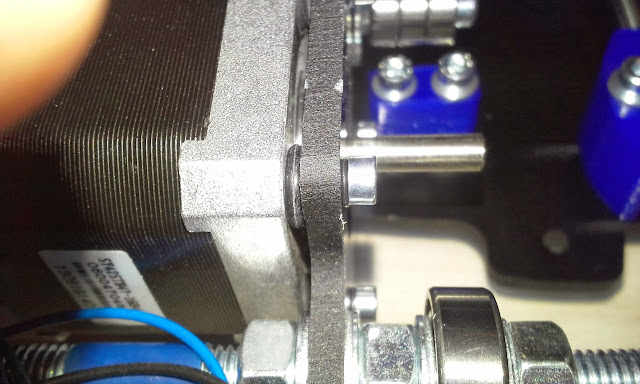 |
| Y motor with rubber O-rings to dampen the vibration (this is not a standard thing I added this myself) |
 |
| working on the extruder/puzzle (the instructions weren't complete) |
 |
| nearly done, here I was working on the cable managment |
Abonneren op:
Posts (Atom)
